
DIY Printer Guidance Hub

Ultimate Printer Guidance
Maintenance Tips
Effortless Troubleshooting
Personalized DIY Solutions
Inkjet Printers
Supertank Printers
All-in-One Printers
Laser Printers
Step-by-Step Troubleshooting Tips
Expert DIY Printer Guidance
Printer Setup Confusion
What Could Be Causing It?
Setting up a printer for the first time — or reconnecting one after a reset — can feel overwhelming. Common causes include incomplete driver installation, using the wrong port or network, compatibility issues with your device, or skipped steps during the setup process. Sometimes, users also mistakenly choose the wrong printer from the device list, which leads to confusion later.
How to Get It Set Up Correctly
Begin by checking your printer’s manual or on-screen instructions to confirm that all steps were followed. Make sure you're using the right cable (USB or Ethernet), or that your printer is connected to the correct Wi-Fi network. On your computer, install the proper driver that matches your printer model. After that, select the printer as the default device to avoid printing to the wrong one.
Important Points to Remember
- Always install drivers first — Before connecting, install the software for smoother setup.
- Match your connection type — Use either Wi-Fi or USB, not both at once.
- Select the right printer — Choose the exact printer name when sending a document.
- Avoid skipping on-screen steps — Follow each prompt during the installation process.
- Check compatibility — Ensure the printer works with your device’s operating system.
- Restart if stuck — A full restart of both printer and device can reset configuration glitches.
Tips to Avoid Setup Issues in the Future
Keep your printer's manual or quick-start guide handy for future reference. Store installation files in a safe folder or bookmark your printer brand’s driver page. Whenever switching networks or updating devices, recheck the connection steps to ensure smooth functionality.


Wireless Connection Trouble
What Could Be Causing It?
Printers that rely on Wi-Fi can run into connection problems due to several factors. Weak signals, frequent network changes, incorrect password entries, or outdated firmware can cause the printer to drop off the network. In some cases, interference from nearby devices or router settings may also prevent a stable connection.
How to Restore the Wireless Connection
First, ensure your printer is within close range of the router and that the Wi-Fi signal is strong. Check if the printer is connected to the correct network and that your router hasn’t recently been reset or renamed. Access the printer’s control panel to reconnect manually, and restart your router if needed. If prompted, re-enter your Wi-Fi password carefully and confirm connection through the device’s status screen.
Important Points to Remember
- Stay within signal range – Keep the printer near the router for best connectivity.
- Check for password errors – A single incorrect character can block connection.
- Avoid using guest networks – Use the primary network to ensure full access.
- Update printer firmware – New updates often improve connectivity stability.
- Limit nearby interference – Devices like microwaves or Bluetooth gadgets may disrupt signal.
- Use the same network – Make sure your computer and printer share the same Wi-Fi.
Tips to Avoid Wireless Issues in the Future
Label your home or office Wi-Fi clearly and keep your printer’s network settings updated. Avoid frequent router renaming or password changes unless necessary. If you do make changes, reconnect your printer right away to prevent future print delays.
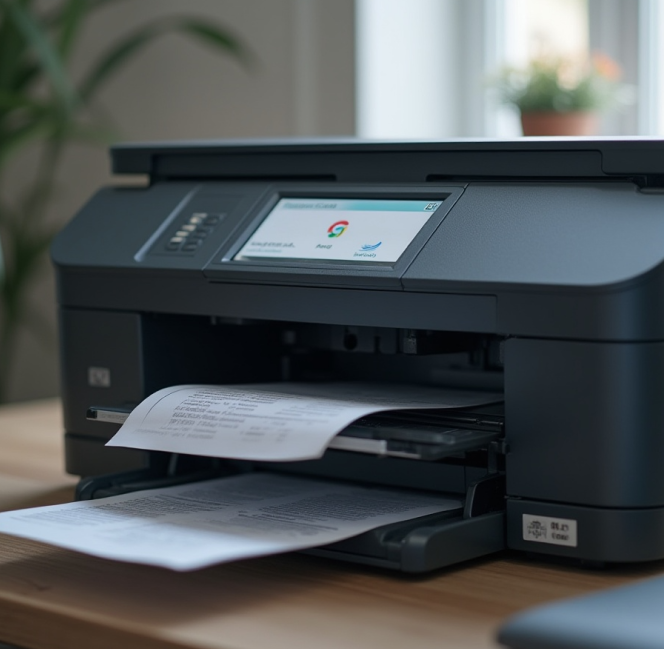
Paper Feed Problems
What Could Be Causing It?
Paper feed issues can occur when the printer fails to pull paper correctly from the tray or when sheets get stuck midway. This can be caused by overloaded trays, warped or dusty paper, misaligned sheets, or worn-out rollers. Sometimes, using paper that doesn’t match the printer’s recommended size or weight can also cause misfeeds or jams.
How to Get Paper Feeding Smoothly Again
Begin by removing all paper from the tray and checking for any stuck or torn pieces inside the feed path. Fan and reload clean, flat paper, making sure it's properly aligned and not overfilled. Inspect the rollers for dust buildup or wear, and gently clean them if needed. Use the paper size and type recommended in your printer’s manual for best performance.
Important Points to Remember
- Don’t overload the tray — Fill the paper only to the marked limit.
- Use flat, fresh sheets — Curled or dusty paper can jam easily.
- Align the stack properly — Misaligned stacks may prevent feeding.
- Check roller condition — Dirty or worn rollers can misfeed sheets.
- Use compatible paper types — Stick to your printer’s supported paper sizes.
- Close trays fully — An open or loose tray can interrupt feeding.
Tips to Avoid Feed Issues in the Future
Store your paper in a dry place to avoid curling or moisture damage. Periodically clean your printer’s feed area to prevent buildup, and always keep an eye on the paper level before starting large print jobs. Using good-quality paper that matches your printer’s specs helps ensure smooth operation.
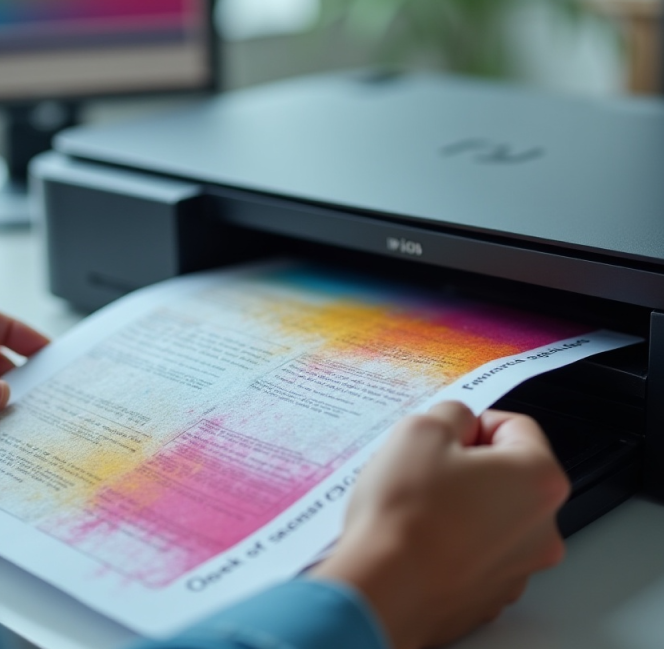
Ink and Alignment Issues
What Could Be Causing It?
When prints appear faded, smudged, misaligned, or missing sections, it’s often due to ink-related or alignment problems. Common causes include low or dried-out cartridges, clogged nozzles, misaligned printheads, or improper cartridge installation. In some cases, using unofficial or incompatible ink can also affect output quality.
How to Fix Ink and Alignment Problems
Start by checking ink levels through your printer's display or software. If levels are fine but quality is poor, run a printhead cleaning cycle and then a printhead alignment. Ensure that cartridges are seated properly and haven't expired. If you're using third-party ink, verify that it’s compatible with your printer model.
Important Points to Remember
- Monitor ink levels regularly – Low or empty cartridges affect quality.
- Run alignment routines – Misaligned printheads cause skewed prints.
- Clean nozzles if needed – Clogs can block ink flow and cause blank spots.
- Use compatible cartridges – Mismatched ink can create printing issues.
- Avoid expired ink – Old cartridges may dry out and damage the printhead.
- Print a test page – Helps detect issues early and confirm improvements.
Tips to Avoid Ink Issues in the Future
Print regularly to prevent ink from drying out and clogging nozzles. Store cartridges upright and in a cool, dry place. Always replace cartridges as soon as you notice a drop in quality, and stick to inks that are recommended for your device.